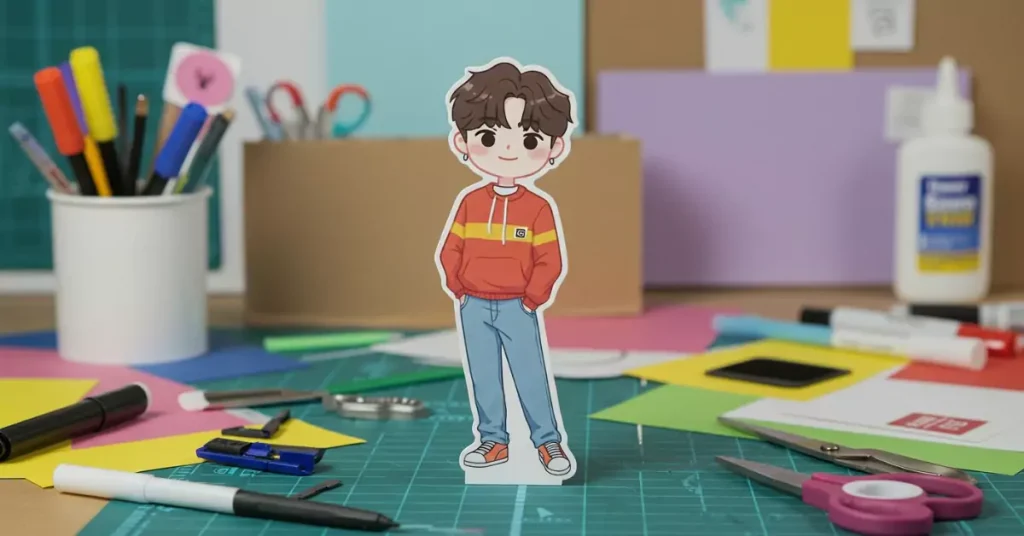
A K-pop standee is a printed cut-out of your favorite idol, usually standing upright on a base. Fans use them as desk decorations, shelf displays, or even room centerpieces.
They can be mini-size, life-size, cardboard, or even acrylic. Making your own is fun, budget-friendly, and lets you customize every detail from the picture you choose to the way it stands.
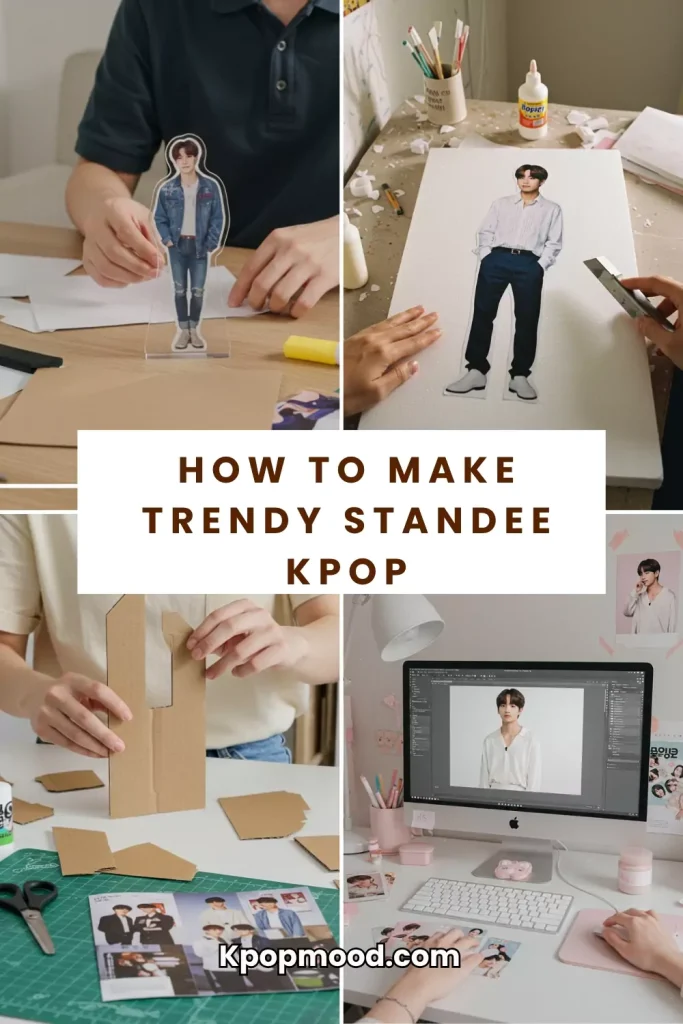
Many fans make them for concerts, fan events, or simply to bring their bias closer to home. In this guide, you’ll learn how to make standee Kpop step-by-step, from printing to assembling, with tips to make it look professional.
Tools & materials (cheap + where to buy)
To make a Kpop standee printable version at home, you don’t need expensive tools. Most items are available online, in craft stores, or at stationery shops. If you’re making a cardboard standee, these are the basics:
- Printer (inkjet or laser) – online, electronics stores, or even a local print shop.
- Photo paper (glossy or matte) – stationery shops or online marketplaces.
- Craft knife (like X-Acto) – craft stores, art supply shops.
- Glue (PVA or glue stick) – stationery stores.
- Foam board or cardboard – art supply stores or recycled packaging.
Tip: If you don’t own a printer, you can get the image printed at a local photo lab or print shop for better color quality.
Step-by-step: Print → Cut → Mount → Stand
Step 1: Choose and prepare your photo

Start by picking a clear, high-quality photo of your idol with good lighting and little shadow. Open the image in an editor and remove the background so the person stands out cleanly.
Free online tools make this quick. Resize the image to your final standee height (10–15 cm is a good desk size) and make sure the resolution is set to 300 DPI so the print stays sharp.
Save the file as a high-quality PNG with a transparent background if possible; this helps keep the edges crisp when you print.
Step 2: Print your image
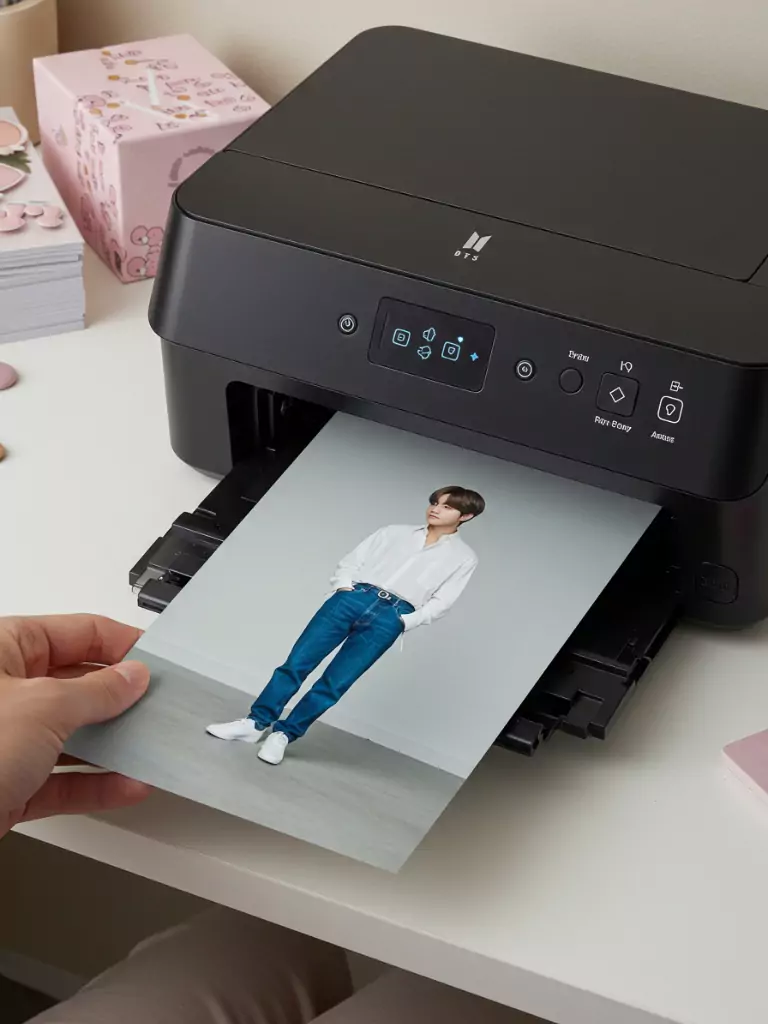
Load photo paper into your printer and set the print settings to High Quality or Photo mode.
If your printer supports borderless printing and you want the image to reach the paper edge, enable that option; otherwise center the image so you have a small white margin to hold while cutting.
Use the printer’s color management or sRGB profile for accurate colors. If you don’t own a good printer, take the file to a local print shop and ask for photo-paper prints at 300 DPI. They often give better color and sharper details.
Step 3: Cut the image

Place the printed photo on a cutting mat. First, do a rough cut with scissors to remove the excess paper around the image.
Then use a sharp craft knife for precise edges, especially around hair and clothing details. Work slowly and make several light passes rather than trying to cut through in one go that gives a smoother edge.
Keep your non-cutting hand out of the blade’s path and use a ruler for straight sections. Changing to a fresh blade before cutting detailed curves will give cleaner results.
Step 4: Mount on foam board or cardboard
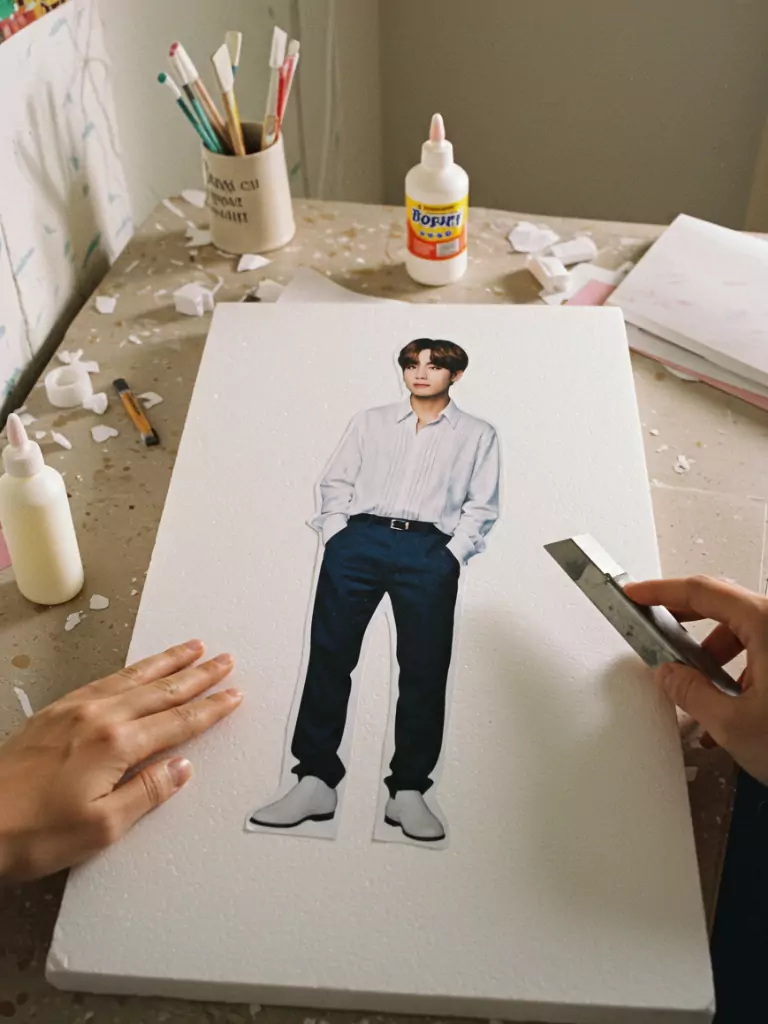
Apply glue evenly to the back of your cut image; a spray adhesive or a thin layer of PVA works best to avoid bumps.
Carefully place the image onto the foam board, aligning it so the edges match. Press from the center outwards to push out any air bubbles, and smooth with a bone folder or the back of a spoon.
Put a flat weight (like a book) on top and let it dry fully for about 10–20 minutes depending on the glue so the paper bonds firmly to the board.
Step 5: Cut the mounted image again

After the glue dries, cut around the mounted image through the foam or cardboard. Use the craft knife with a straight edge for firm lines and take your time on curves and small details.
Hold the board steady and make controlled strokes; if the foam compresses, try cutting in slightly shallower passes rather than forcing a deep cut.
Clean edges now will make the standee look much neater when it stands up.
Step 6: Make the stand base
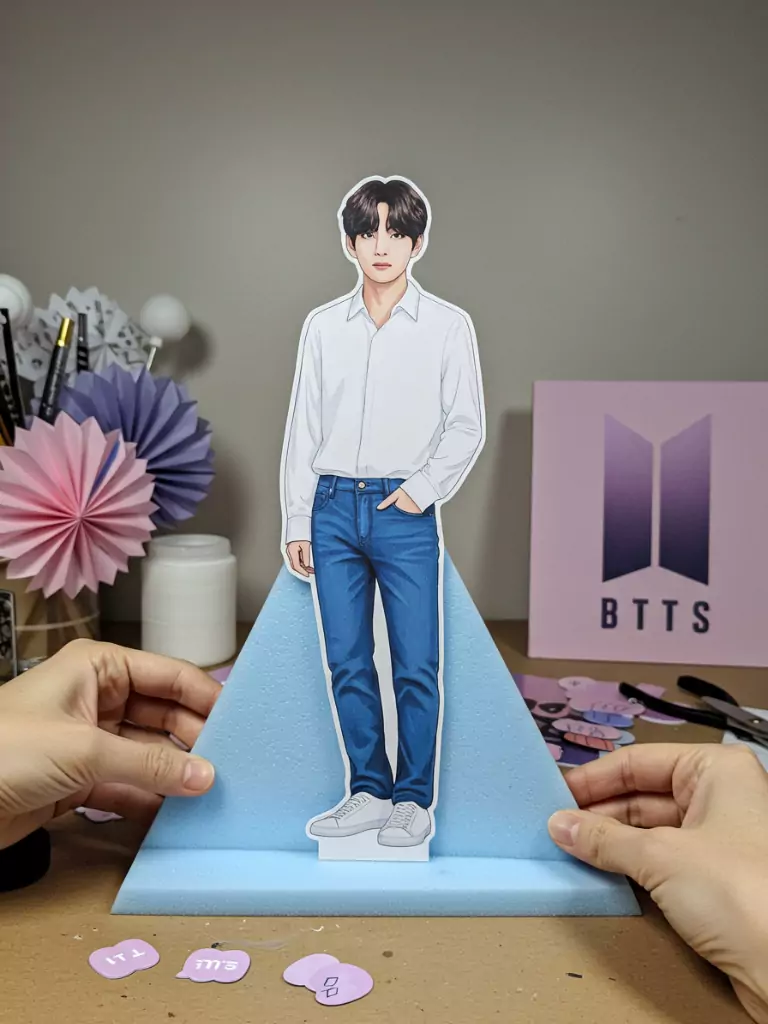
Cut a strip of foam board about 2–3 cm wide and long enough to match the standee’s feet.
Fold or score it into a triangle or L-shape to form a strong base, then glue or tape it to the back lower edge of the standee.
For extra stability, add a second base piece or glue a small rectangle behind the feet as reinforcement. Test the stand on a flat surface and, if it leans, widen or weigh the base with a small coin or piece of cardboard until it stands straight.
Decoration & durability tips
To make your standee last longer:
- Laminating the printed image before cutting protects against scratches and spills.
- Seal edges with clear tape to stop peeling.
- Double-mount by adding an extra layer of foam board for stability.
- Add glitter paper, small stickers, or mini props for a personal touch.
How to make it look pro: photo prep & resizing tips
Professional-looking standees start with great images. Choose photos with good lighting and minimal shadows. Crop closely around the idol and keep DPI at 300 for clear prints.
Always remove the background cleanly so the edges look sharp. For mini standees, resize images proportionally to avoid stretched or squished looks.
Adding a thin white outline around the figure can make it pop against the background.
What Kind of K-pop Standee Maker Are You?
Your Standee Maker Personality Is:
Quick variations: life-size, pop-up, magnet bases (Life Size Kpop Standee DIY)
If you want to go beyond mini desk versions, here are fun alternatives:
- Life-size standee — Print on large foam board or cardboard through a professional print shop. Perfect for events or room décor.
- Pop-up standee — Add foldable hinges so it collapses for storage.
- Magnet base — Attach a small magnet at the base so it can be placed on a fridge or metal surface.
- Acrylic upgrade — For a premium look, have the image printed and cut on acrylic through an online service.
Conclusion
Making your own K-pop standee is an easy and creative way to celebrate your favorite idol.
If it’s a mini Kpop standee tutorial for your desk or a life size Kpop standee DIY for your room, the process is simple and fun.
All you need are the right materials, a good photo, and a bit of patience. Soon, you’ll have your bias standing right by your side literally!