If you’ve ever looked at your shoes and thought, “I wish these looked more like me,” you’re in the right place. Shoe customization is all about turning a plain pair into something unique your style, your colors, your design.
In this guide, I’ll walk you through every step, from tools to finishing touches, so you can confidently customize your shoes at home.
What is shoe customization? Quick overview + who it’s for
Shoe customization means changing parts of a shoe its color, pattern, laces, patches, or artwork so it becomes a one-of-a-kind pair.
It’s for beginners who want to try something creative, for sneaker lovers who want to stand out, and even for people thinking of making custom shoes as a hobby or small business.
If you enjoy DIY, love fashion, or just want to refresh a tired pair, this is for you.
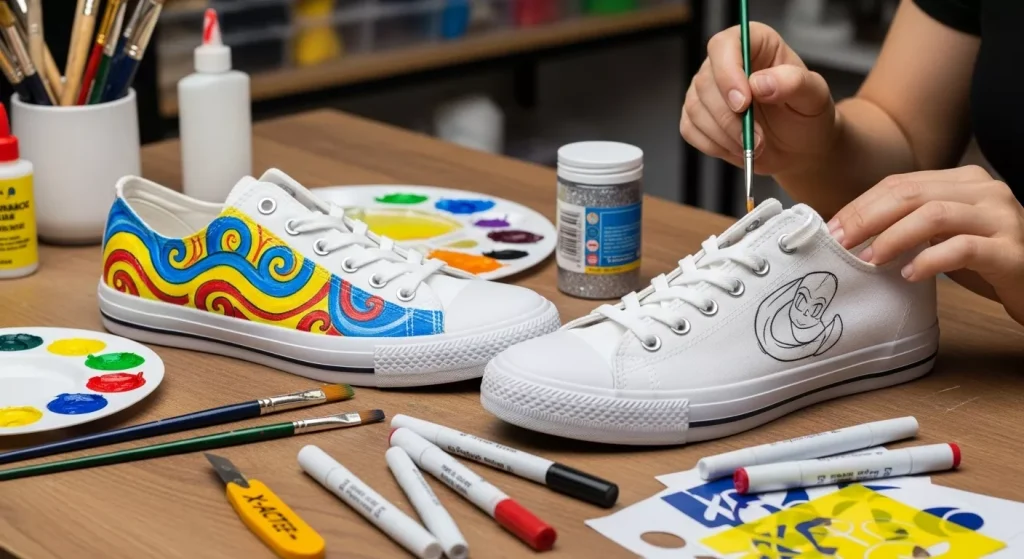
Tools & materials you’ll need (checklist + budget options)
Here’s a checklist of what you’ll want before diving in. I’ll also give you budget options so you don’t have to spend a ton.
Paints
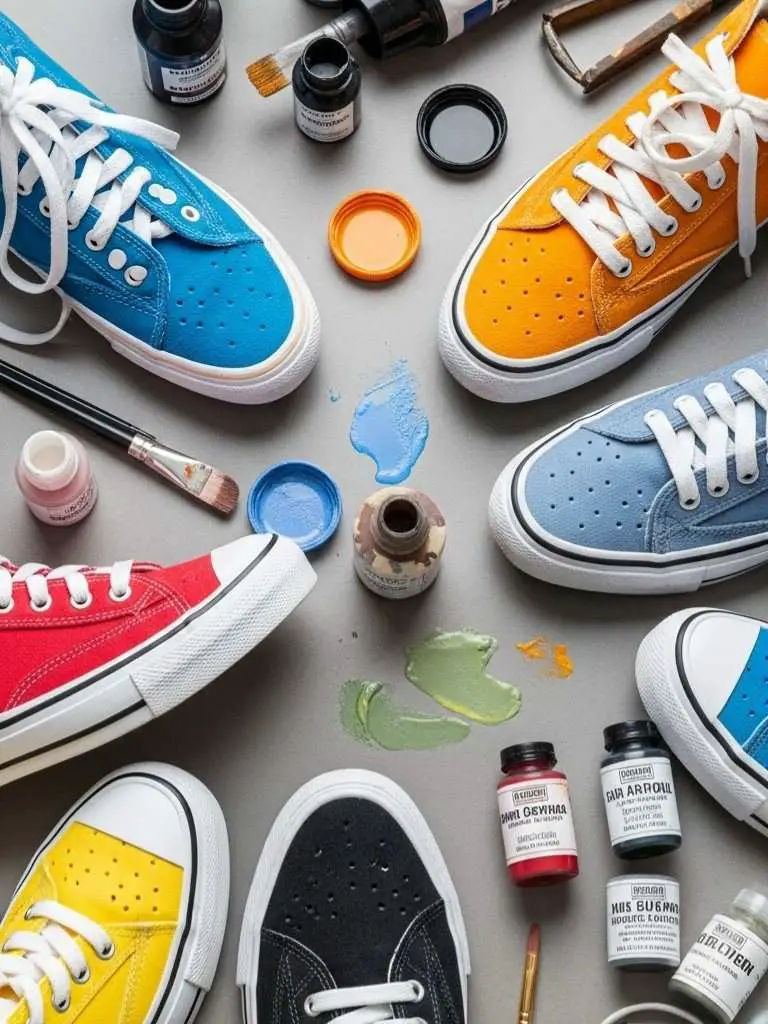
- Acrylic leather paint: Works well for smooth leather surfaces and gives a vibrant finish.
- Leather dye: Perfect if you want to keep the natural grain look of leather.
- Fabric spray or markers: Great for canvas or fabric shoes.
Brushes & Markers
- A set of synthetic brushes in various sizes: one for broad strokes, one for details.
- Fine-tip paint markers for small lines or writing.
Tape & Masking Materials
- Good quality masking tape to protect areas you don’t want paint on.
- Stencils if you want to use patterns or text.
Sealers & Finishers

- A finisher or sealer to protect your work so your paint lasts longer.
- Optional: dulling agent to reduce shine if you prefer a matte finish.
Sandpaper & Prep Cleaners
- Fine-grit sandpaper (around 400–600 grit) to gently scuff smooth surfaces so paint adheres better.
- Cleaner or deglazer (acetone-based) to remove the factory finish or polish.
Budget options
- Instead of expensive brushes, buy a small craft set.
- Use basic masking tape rather than premium for your first project.
- If leather dye is pricey, start with acrylic paint to practice techniques.
Prep: cleaning, deglazing and sanding why it matters
Before you paint, you must prep your shoes. Skipping this step often leads to paint that cracks, peels, or looks uneven. Here’s how to do it and why each part is important.
- Clean the shoe surface: Remove dirt, dust, oils, and old polish. A clean surface helps paint stick properly.
- Deglaze / remove the factory finish: Many shoes have a protective coating. Using a deglazer will lift that coating so your paint can bond better.
- Light sanding: For smooth leather or patent parts, gently sand with fine-grit paper. This gives the surface a slight texture so paint holds better.
- Tape off areas: Mask areas you don’t want to paint, like soles or logos, to ensure clean lines and a professional look.
Without proper prep, paint may crack or chip early. With good prep, your customization will last longer and look better.
Basic techniques (step-by-step)
Here are simple techniques you can use, even if you’re a beginner. I break them into three sub-techniques so you can pick one or do them all.
Masking & Stencils
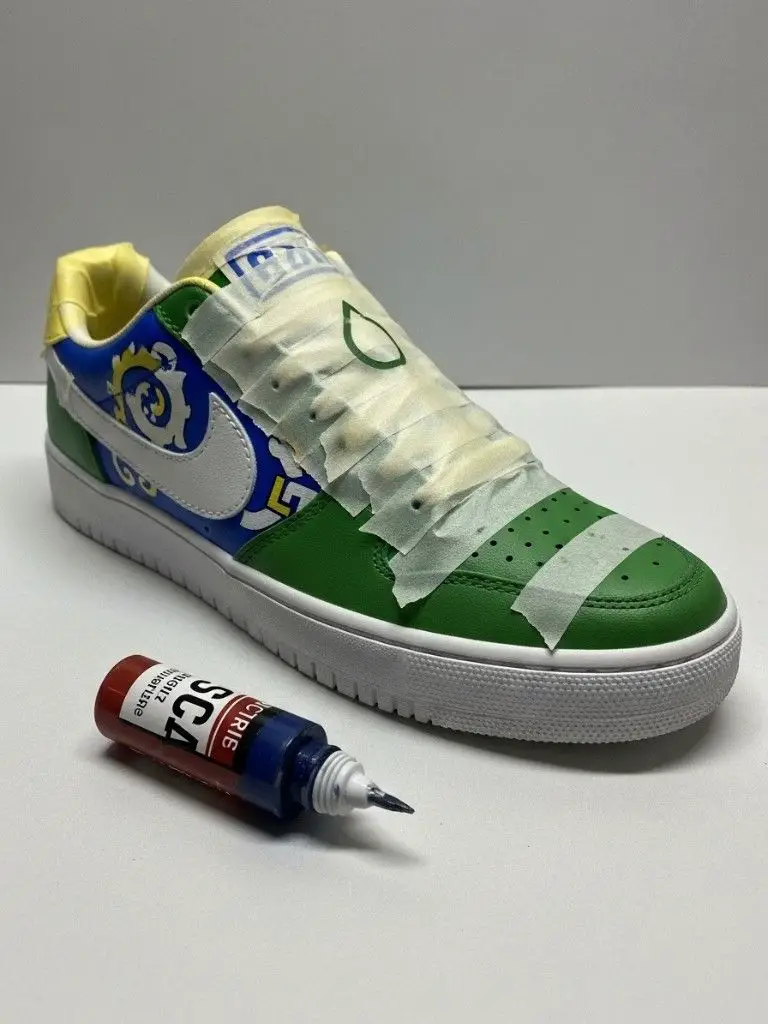
Start by using masking tape to cover any areas of the shoe you don’t want to paint.
This helps create clean, sharp lines and keeps your design neat. If you’re using a stencil, position it carefully on the shoe and press it down firmly to prevent paint from bleeding underneath.
Once everything is securely taped or stenciled, you’re ready to paint the exposed sections and bring your design to life.
Painting Thin Layers (Dry Time & Build Up)
Start by applying a thin coat of paint using your brush or marker, making sure to cover the surface evenly without overloading it. Allow the first layer to dry completely before adding another this helps the paint stick better and prevents cracking.
It’s always best to apply multiple thin coats rather than one thick one for a smooth, long-lasting finish. Pay close attention to your color transitions and edges; clean lines will make your design look polished and professional.
If you’re working on leather shoes, be extra patient and let each coat dry fully before applying the next for the best results.
Adding fabric/patches & laces
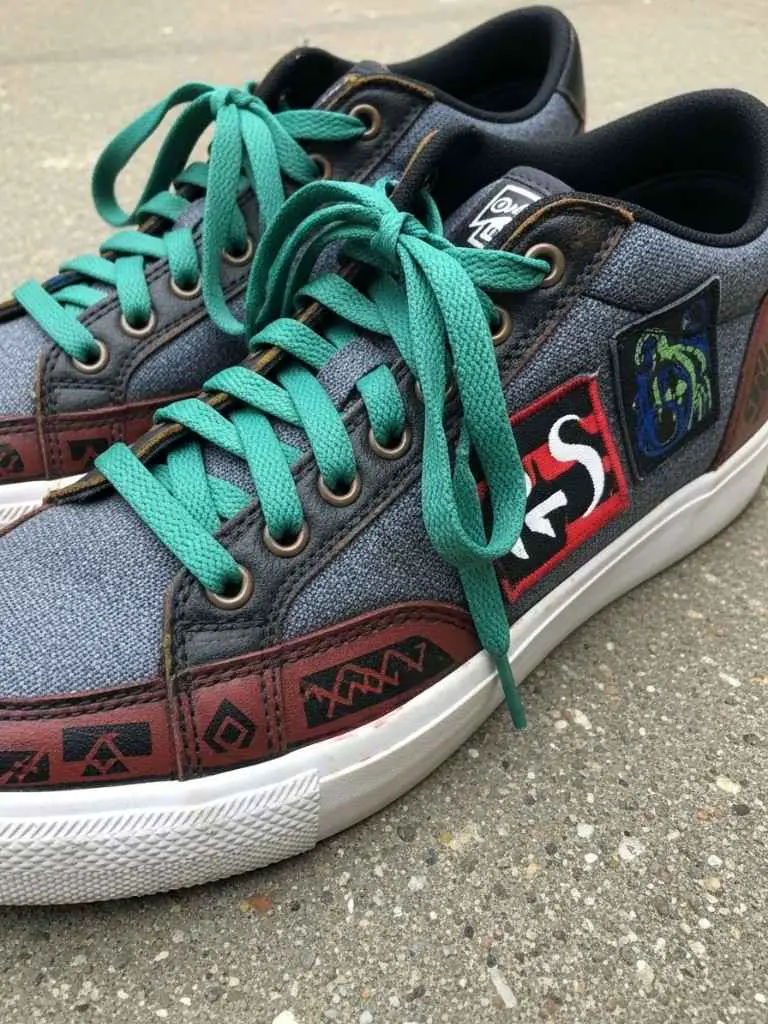
For fabric parts like canvas or mesh, use fabric-safe paint or markers to prevent cracking and ensure flexibility. You can also add patches or iron-ons to give your shoes extra texture or a unique design element.
Don’t forget about the laces swapping them for new ones or painting them to match your design is a quick and easy way to elevate your customization.
Once everything is completely dry, lace up your shoes and enjoy the final reveal of your personalized creation.
Sealing and Finishing for Durability
Once your design is completely dry, sealing it is essential to protect your work. Apply two or more light coats of a suitable finisher, allowing each to dry evenly.
Let the final coat cure for about 24 hours before wearing. Use a matte finisher for a soft look or a glossy one for extra shine, and avoid rain or rough wear for the first few days to keep your custom shoes in top shape.
Quick projects (3 easy ideas): color-block, painted toe cap, custom laces
Here are three fun, beginner-friendly project ideas to try:
- Color-block: Pick two or three contrasting colors. Tape your shoe into zones (like heel, midsection, toe) and paint each section differently for a modern, graphic look.
- Painted toe cap: Keep most of the shoe original and paint only the toe cap in a bold or metallic shade for instant style.
- Custom laces & accents: Swap laces for colored ones, paint the lace tips, or add small charms or patches for extra flair.
What Type of Shoe Customizer Are You?
You’re a…
Conclusion
Shoe customization is a fun and creative way to express your personal style. By cleaning, prepping, painting, and sealing your shoes properly, you can transform an ordinary pair into something truly unique.
Each step from taping and painting to adding small details helps make your shoes look professionally designed while still reflecting your personality.
If you experiment with bold color-blocks, subtle patterns, or just refresh your laces, the result is something completely your own.
With a little patience and the right care, your custom shoes will stay stylish and durable for a long time so lace them up and enjoy showing off your masterpiece wherever you go.