
Crochet tops are everywhere right now. From cute summer crop tops to soft everyday tank tops, handmade styles are becoming a favorite because they’re personal, unique, and surprisingly easy to create.
Even if you’re new to crochet, you can make a beautiful top with simple stitches and a little patience. Whether you want a casual ribbed tank for everyday wear or something cute for summer, this guide will walk you through everything you need slow, simple, and stress-free.
What You’ll Need (Materials & Tools)
Before you get started, gather the right materials. Crochet doesn’t require many tools, but choosing the right yarn and hook makes a big difference in how your top turns out, especially the drape and comfort.
Recommended Materials
- Yarn:
Soft cotton or cotton-blend yarn (DK or worsted weight works best) - Hook:
4.0 mm, 4.5 mm, or 5.0 mm crochet hook
(Choose based on yarn weight—lighter yarn = smaller hook) - Tape measure:
For measuring bust and length so the top fits perfectly. - Scissors
- Stitch markers:
Helpful for marking straps or important rows. - Yarn needle:
Used for weaving in ends and attaching straps.
How Yarn Weight & Hook Size Affect Your Top
- Thinner yarn (DK) creates a soft, breathable, fitted top.
- Thicker yarn (Worsted) gives a sturdier, slightly warmer top.
- Smaller hooks make tight, firm stitches.
- Larger hooks make loose, flowy stitches with more drape.
The combination you choose will determine how your top looks and feels. For beginners, medium-weight cotton yarn with a 4.5mm or 5mm hook is the easiest to work with.
Gauge Swatch Tip
Before starting the top, crochet a small 10×10 cm swatch.
This helps you check if your stitches are too tight or too loose—and ensures your top will fit the way you expect.
Choose the Right Pattern for Your Skill Level
Crochet tops come in many styles, but most beginner-friendly ones fall into three simple construction types:
1. Rectangle-to-Top Method (Easiest)
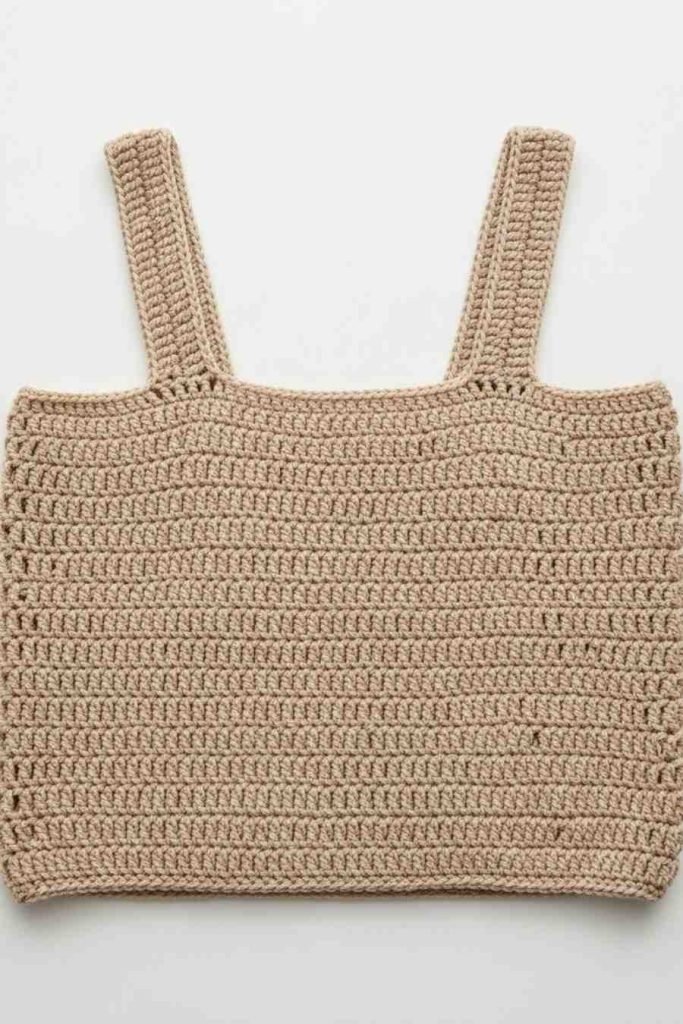
The rectangle-to-top method is the easiest way to make a crochet top, especially if you’re a complete beginner.
With this method, you simply crochet one large rectangle, fold it in half, seam the sides, and attach simple straps on top. There’s no shaping, no complicated stitches, and no confusing pattern sections.
If you can make a rectangle, you can make a wearable, cute crochet top using this method. It’s simple, fast, and perfect for anyone making their very first clothing project.
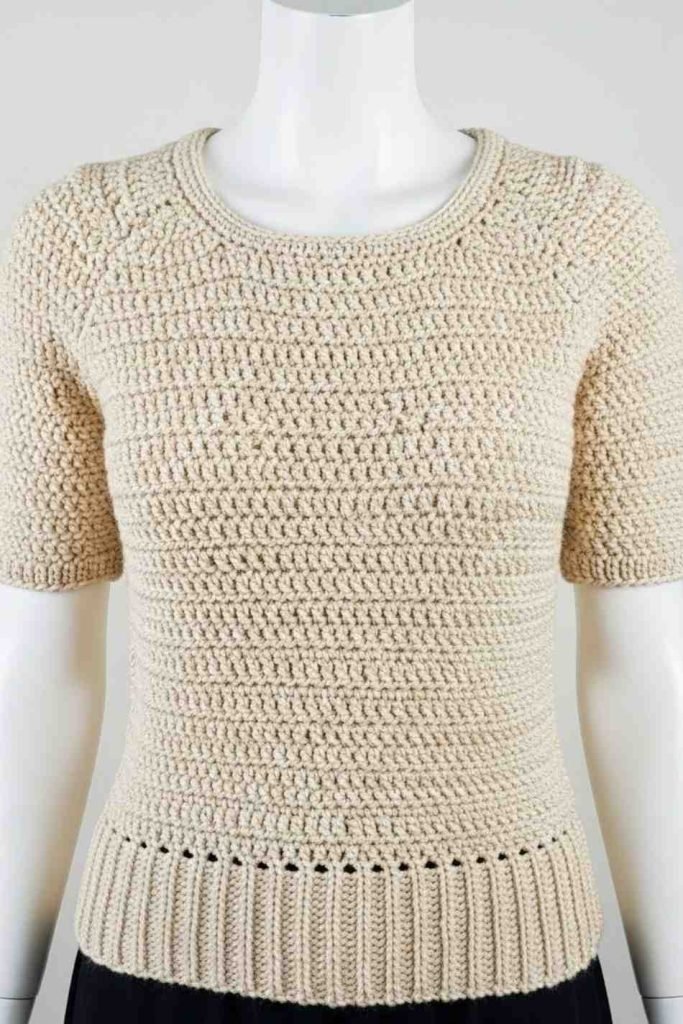
2. Top-Down Method
The Top-Down Method is a popular way to crochet a top because it starts at the neckline and works downward.
This approach makes sizing much easier since you can try the top on as you go, adjusting the width and length to fit your body perfectly.
It also allows you to shape the shoulders, bust, and straps more naturally, giving a professional-looking finish without complicated measurements.
This method is ideal for beginners who want a custom fit and the flexibility to make changes while crocheting.
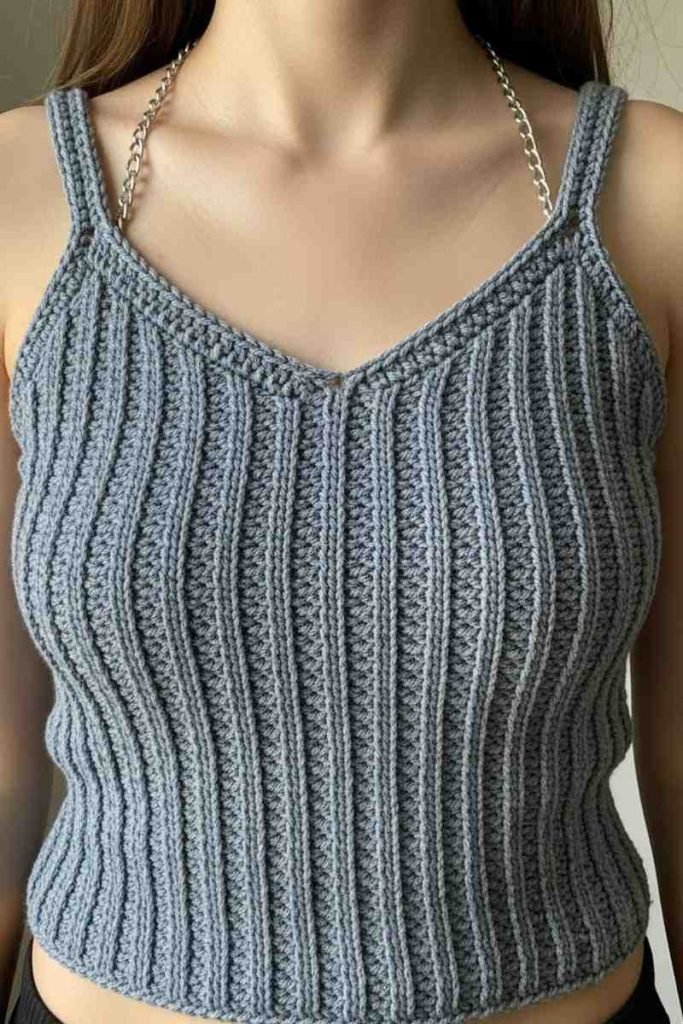
3. Ribbed Singlet Style
Made with stretchy ribbed stitches, this top fits most body shapes comfortably. This guide includes a full ribbed singlet pattern you can follow.
Choose whichever method feels right for you—but if you’re unsure, start with the ribbed version below. It’s simple, quick, and gives a very clean, modern look.
Skill Refresher: Stitches You’ll Use
You only need a few basic stitches to make a beautiful crochet top. Here’s a quick refresher:
1. Chain (ch)
The foundation of your project. You’ll use this to start your rows and shape straps.
2. Single Crochet (sc)
A tight and sturdy stitch used for edges and clean finishes.
3. Half-Double Crochet (hdc)
A soft, stretchy stitch that’s perfect for ribbing.
4. Double Crochet (dc)
A taller stitch used in airy tops or for adding length quickly.
5. Slip Stitch (sl st)
Used to join pieces, create clean edges, or smooth transitions.
Basic Increases & Decreases
You’ll use these to shape your top slightly if needed, especially around the bust or straps. If you know these stitches—even at a beginner level you’re more than ready to make your first top.
The Pattern: Easy Ribbed Singlet (Step-by-Step)
A simple, comfy top that stretches to fit your body perfectly.
Materials
- 2–3 balls of DK or worsted cotton yarn
- 4.5 mm crochet hook
- Stitch markers
- Tape measure
- Yarn needle
Sizes
This pattern stretches, so use your bust measurement as your guide.
| Size | Bust Measurement | Foundation Chain |
|---|---|---|
| XS | 28–30 in | 50 ch |
| S | 32–34 in | 58 ch |
| M | 36–38 in | 66 ch |
| L | 40–42 in | 74 ch |
| XL | 44–46 in | 82 ch |
(Add or subtract chains in multiples of 2 to adjust further.)
Gauge
12 hdc rows = 4 inches
13 stitches = 4 inches
Step-by-Step Instructions
Step 1: Make the Ribbed Body
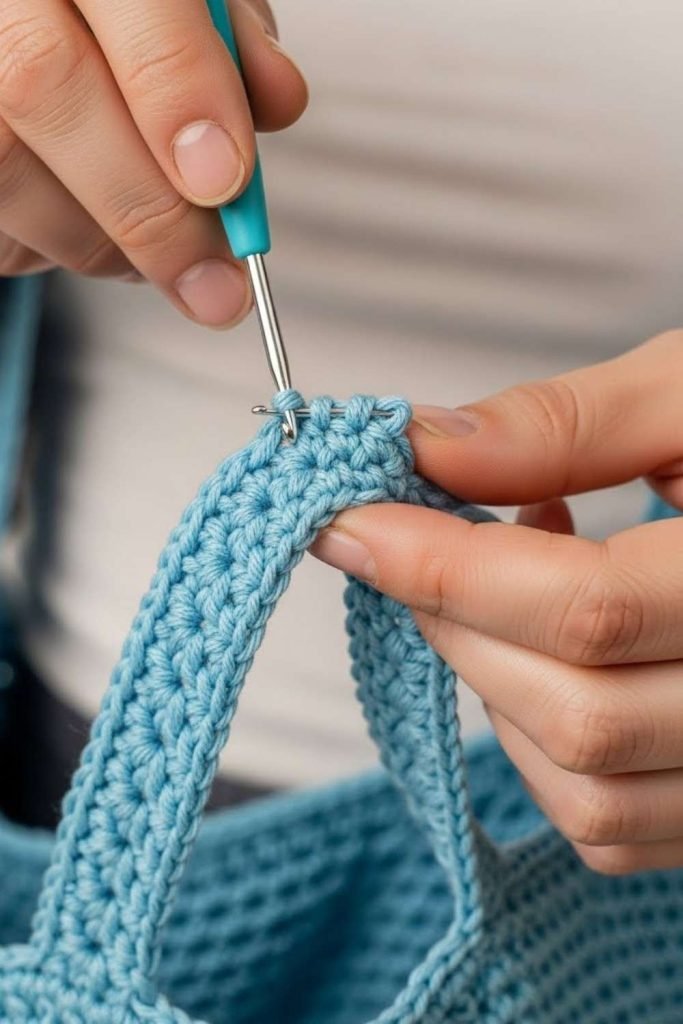
To start the ribbed body of your crochet top, begin by chaining your foundation row. For Row 1, work a half-double crochet (hdc) into the second chain from the hook and continue across the entire row.
For Row 2, chain one, turn your work, and crochet hdc stitches in the back loop only (blo) to create the stretchy ribbed texture.
Keep repeating Row 2 until the panel comfortably wraps around your bust with a slight stretch. Most people need around 55 to 70 rows, depending on size and yarn tension.
Step 2: Seam the Back
To seam the back, simply fold your finished rectangle in half so the short sides meet evenly. Then, using your hook, slip stitch along the edges to join both sides together.
Once you reach the end, fasten off and turn the fabric right side out you now have a neat, stretchy tube that forms the base of your crochet top.
Step 3: Make the Upper Body
Attach your yarn at the top edge of the ribbed tube and work one round of single crochet (sc) all the way around to create a neat, even base.
Once that round is complete, switch to half-double crochet (hdc) and continue working in the round for about 4–6 rounds to build the upper body of the top.
Try it on as you go stop adding rounds once the height feels comfortable under your bust and fits the way you want.
Step 4: Shape the Front
To shape the top, begin by marking the front center. Then work back and forth to create the two front panels, decreasing one stitch at the neckline end of each row so the top gradually curves and narrows.
Keep crocheting until both front straps reach about 5–7 inches, depending on how long or short you want them. As you go, try the top on occasionally and stop shaping once the height feels comfortable under your bust.
Step 5: Make the Straps
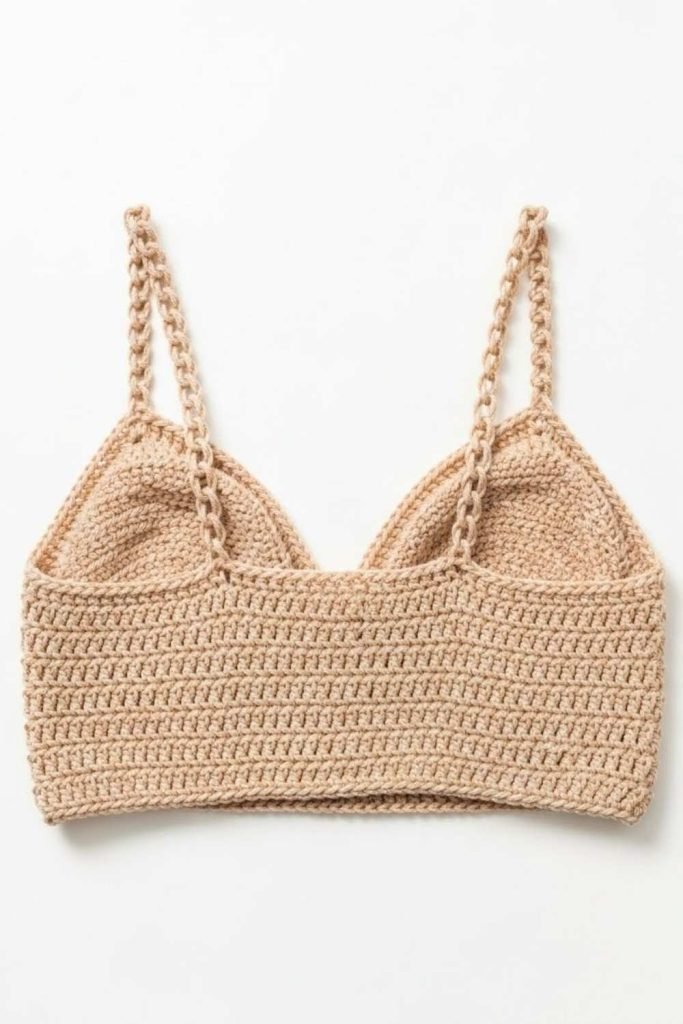
Once both front panels reach your desired height, it’s time to create the straps. Simply chain 10–14 stitches on each panel, depending on how long you want the straps to be.
After making the chains, attach them to the back of the top using slip stitches to secure them firmly in place.
Repeat the same steps for both sides, and double-check that the straps are even before moving on this will help your top sit comfortably and look neat when worn.
Step 6: Finishing
To finish your crochet top, work a round of single crochet around the neckline and armholes to give everything clean, smooth edges. Then weave in all the yarn ends with a yarn needle so the inside looks neat and nothing comes loose.
Finally, lightly block your top by dampening it, shaping it with your hands, and letting it dry flat. Once it’s dry, your easy ribbed crochet top is ready to wear!
Finishing Touches: Edges, Straps, Blocking & Custom Fit
Clean Edges
Working a single crochet border around the neckline and armholes makes the top look polished.
Strap Adjustments
If your straps feel loose, add a row of slip stitches on top to tighten them.
Add Length
Before the neckline shaping, simply add more rounds of hdc to lengthen the top.
Turn It into a Halter Top
Skip the two separate straps and make one long chain from one side to the other.
Granny Square Style
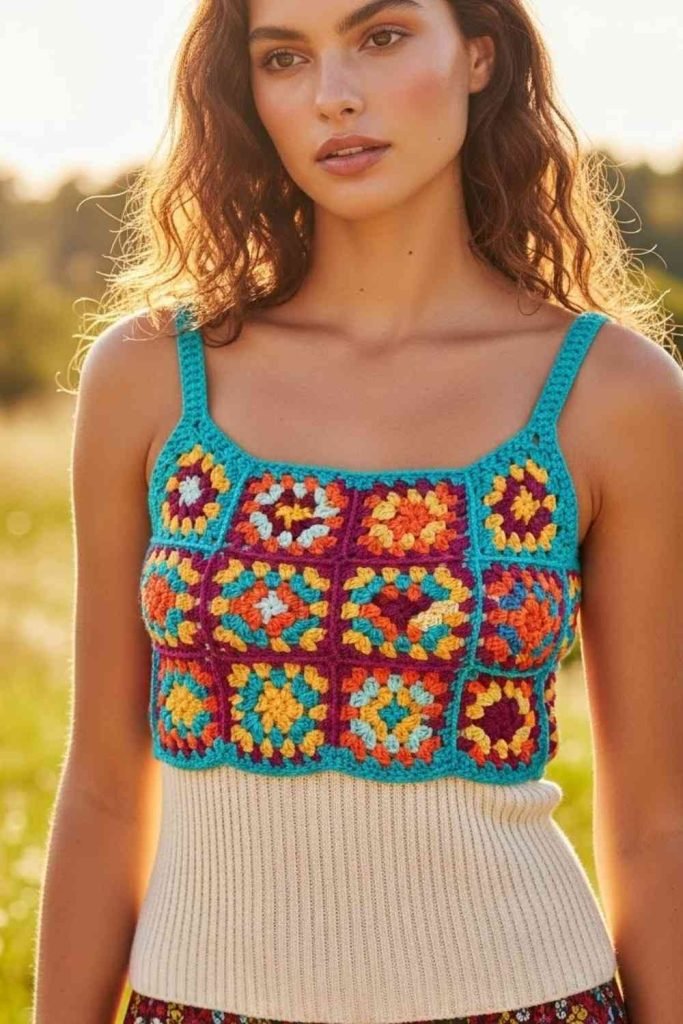
Make 6–12 small squares and seam them to your ribbed body for a boho look.
Blocking
Gently wet the top and lay it flat to dry. This makes the stitches smooth and the shape neat..
Which Crochet Top Suits Your Style?
Your Ideal Crochet Top Is:
Conclusion
You now know every step needed to make your own crochet top—from selecting materials to finishing the last stitch. This simple ribbed singlet pattern is perfect for beginners, fun to customize, and easy to wear with any outfit.