Pearl details can make even the simplest manicure look soft, classy, and a little romantic. I love how Nails With Pearls feel delicate but still eye-catching.
They work for weddings, parties, or even everyday wear if I keep the design simple. The best part? I don’t need a salon appointment every time. With a small pack of flat-back pearls and nail glue, I can recreate most of these looks at home.
In this list, I’m sharing pearl nail ideas I personally adore and would actually wear. Each one is easy to try, budget-friendly, and perfect if I want something feminine without going overboard.
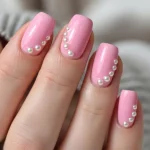
1. Minimal Pearl Cuticle Outline
I love this look when I want something simple but polished. I paint my nails in nude or soft pink. Then I place tiny pearls along the cuticle line only. It frames the nail without covering too much space.
I use small flat-back pearls so they sit comfortably. A toothpick helps me position each bead. I seal everything with a thick top coat.
This style is perfect for weddings or formal dinners. It looks delicate and neat. If I’m short on time, I do it only on two accent nails. That saves pearls and still looks stylish.
2. Single Statement Pearl
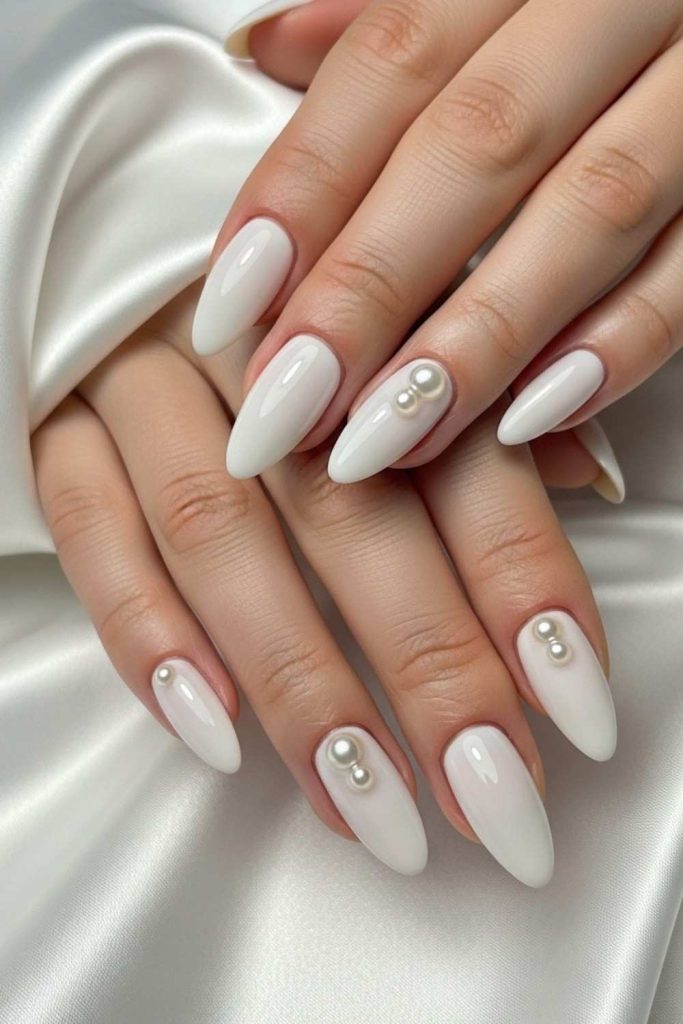
Sometimes less really is more. I paint my nails milky white or soft beige. Then I glue one medium-sized pearl in the center of each nail.
That’s it. Clean. Classy. Eye-catching.
If I want a softer look, I do this only on the ring finger. It feels balanced and not too heavy. I always press the pearl gently and hold it for a few seconds so it sticks properly.
This design works beautifully for engagement parties or family events. It feels elegant without looking dramatic.
3. Pearl Accent Nails
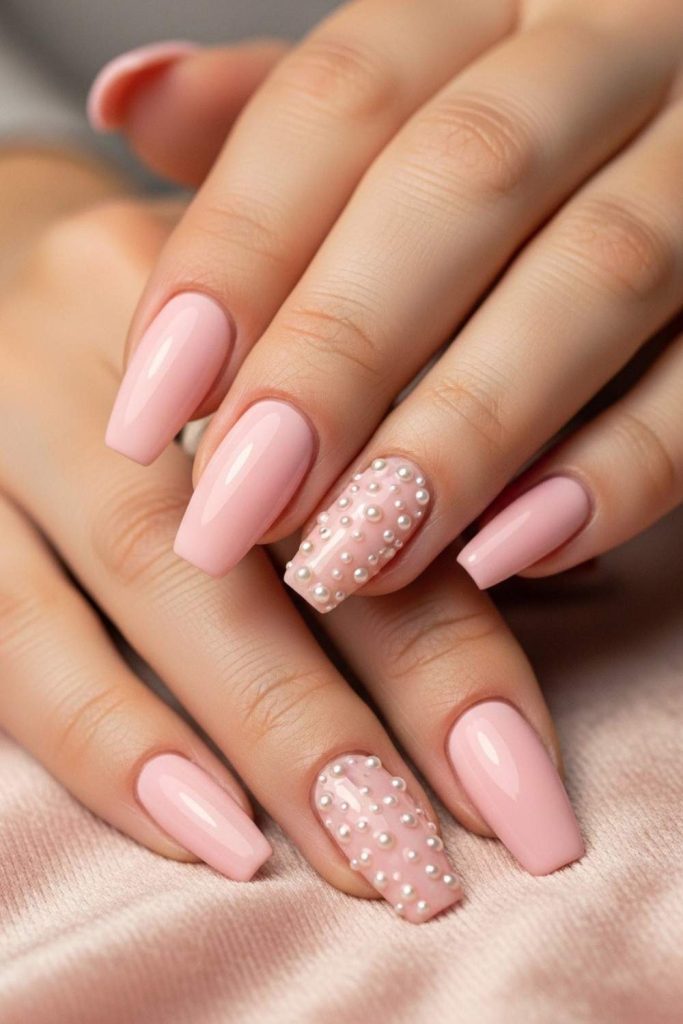
When I don’t want pearls on every finger, I keep them for accent nails. I paint all nails pastel pink. Then I decorate two nails fully with small pearls.
I scatter them randomly but leave small gaps. That way the design doesn’t look crowded.
Buying pearls in bulk from craft stores saves money. One pack lasts for many manicures.
This idea feels playful and soft. It’s perfect for birthdays or brunch with friends.
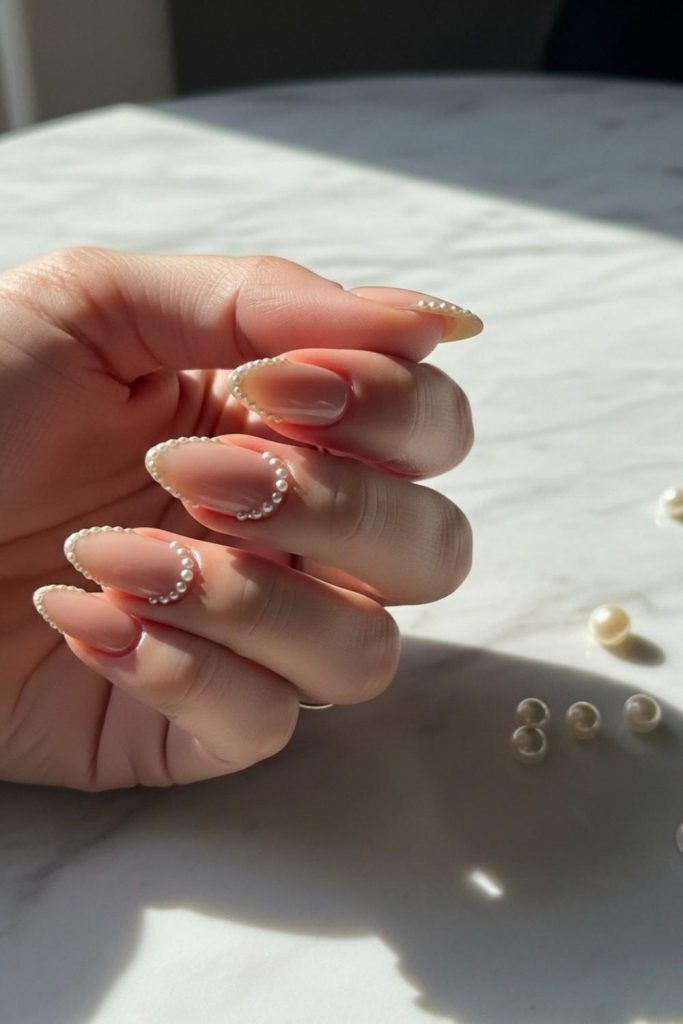
4. Pearl French Tips
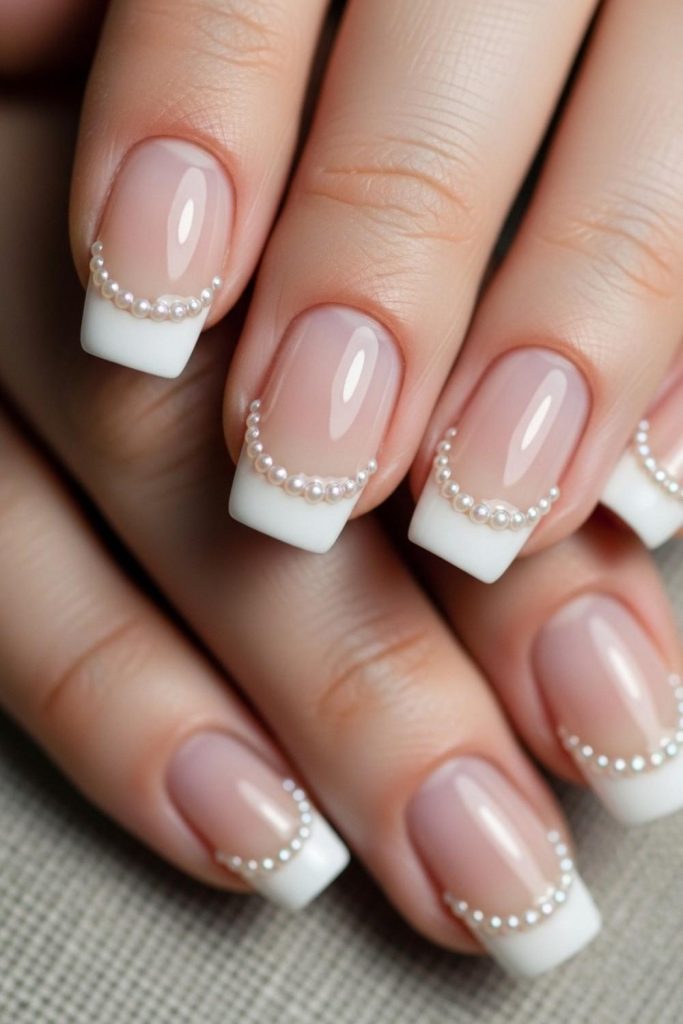
I enjoy giving a classic French manicure a little twist. Instead of plain white tips, I line the smile line with tiny pearls for a softer, more romantic finish.
I start by painting my nails a nude or sheer pink base and let it dry completely. Then I carefully apply the white tips, keeping the curve clean and even.
Once everything is dry, I use a small dot of nail glue and place tiny pearls along the smile line. I move slowly so the pearls follow the curve perfectly. It takes patience, but the result looks refined, timeless, and truly pretty.
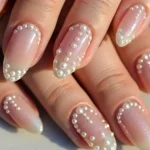
5. Pearl Clusters at the Base
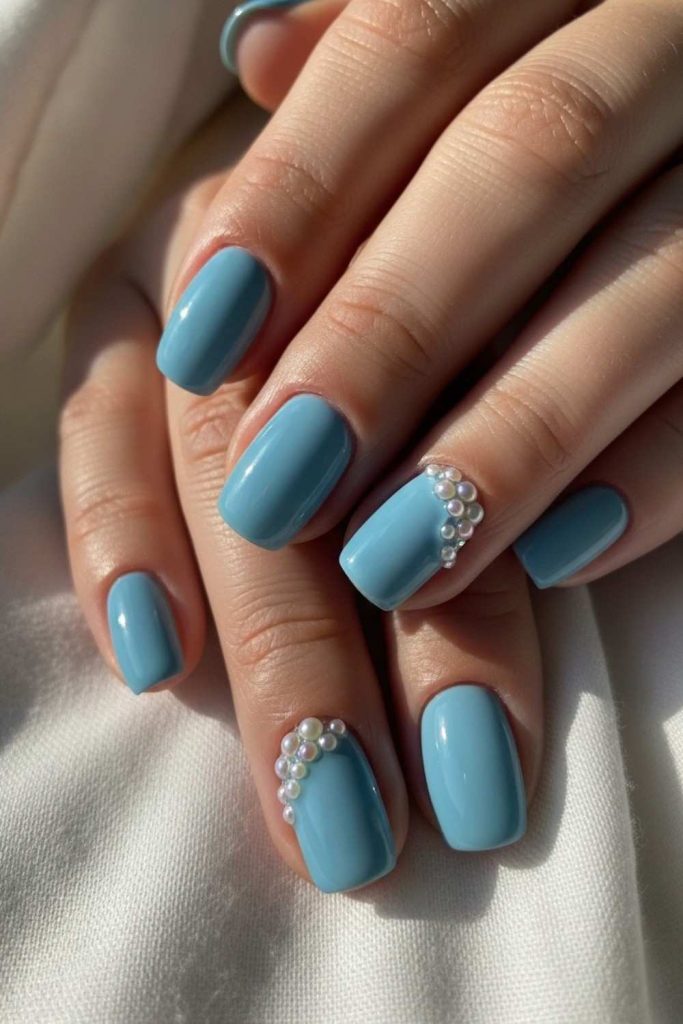
This one feels romantic to me. I create a tiny cluster of three or four pearls right near the cuticle area, keeping the placement soft and balanced.
I usually choose baby blue or lilac polish because gentle shades make the pearls stand out beautifully without looking too bold. After my base color dries, I arrange the pearls in a small triangle shape using a toothpick for better control.
I press them down lightly and seal everything with a thick top coat. It looks detailed and elegant, but it doesn’t take much time at all. Perfect when I want something special yet still simple and wearable.
6. Vertical Pearl Line
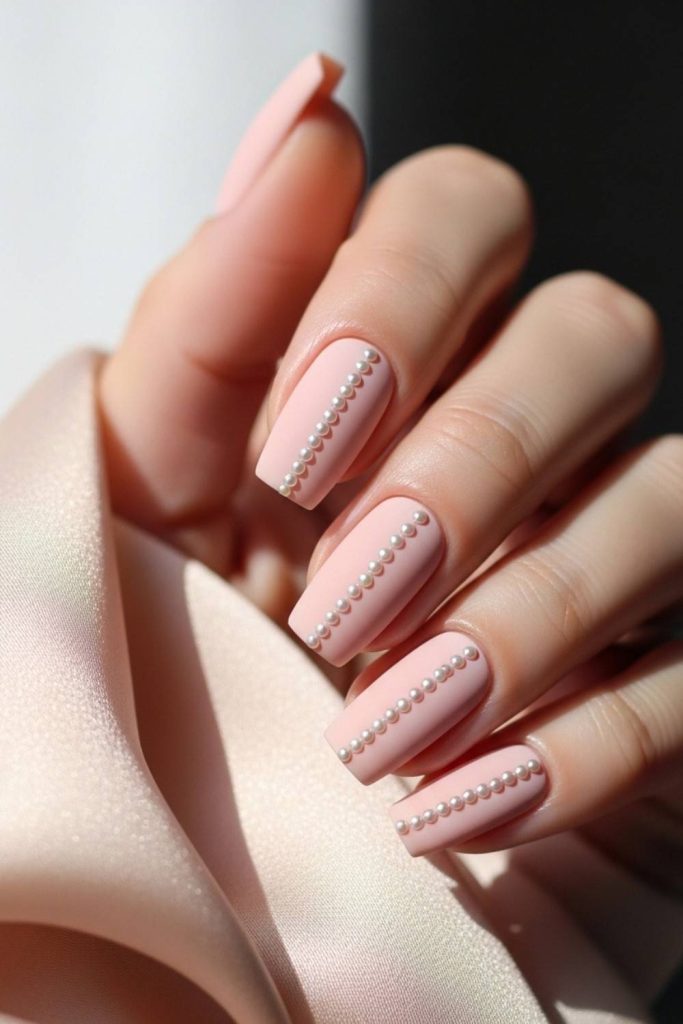
I love clean, simple designs, and the Vertical Pearl Line is one of my favorites. For this look, I place tiny pearls carefully in a straight line down the center of each nail.
I usually start with a matte blush polish as the base because the soft matte finish makes the pearls really pop and adds a gentle, sophisticated vibe. I take my time measuring the spacing between each pearl so they look even and tidy.
Using a thin nail brush to apply glue helps me place each pearl precisely. This design feels modern, minimal, and soft all at once, perfect for everyday wear or special occasions.
7. Pearls with Subtle Rhinestones

When I want a little extra sparkle, I like to mix tiny pearls with small rhinestones. I usually keep the base polish soft, like champagne or nude, so the pearls and rhinestones really pop.
I decorate just two nails to avoid making the design look too heavy. I always place the pearls first and then carefully add the tiny rhinestones between them.
The combination looks glamorous but still very feminine. To make sure nothing comes off, I seal everything with a strong top coat. This design is perfect for festive evenings or any special occasion.
8. Pearl Heart Accent
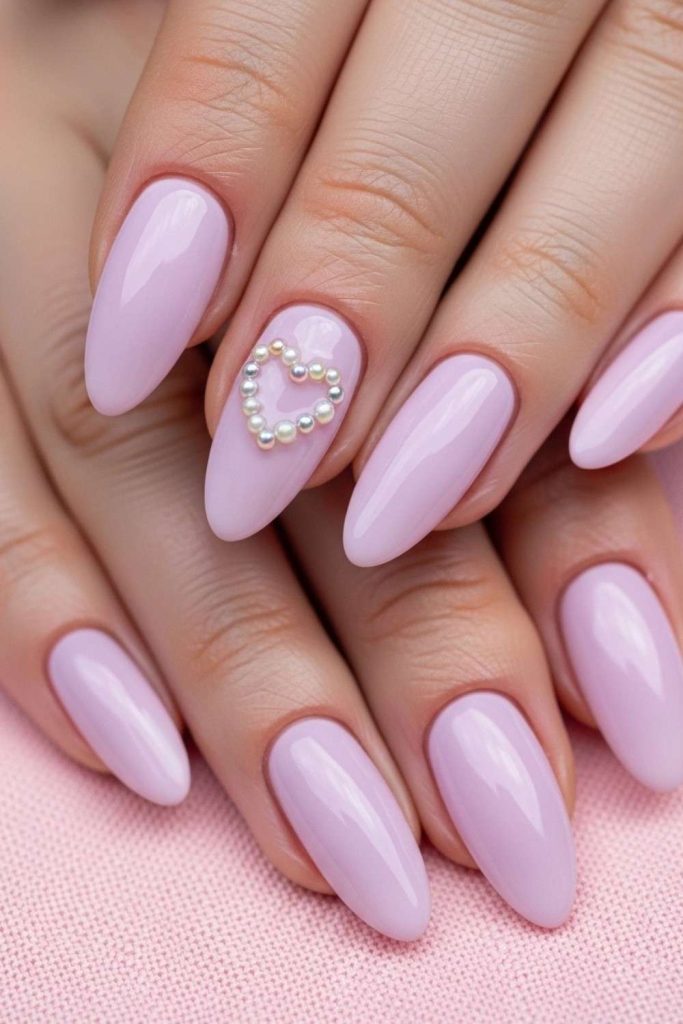
This design feels sweet and personal. I love creating a tiny heart shape on one nail using very small pearls. The rest of my nails stay plain, usually in soft lavender or pale pink, which makes the heart pop even more.
I start by lightly sketching the heart shape with nail glue so I have a guide to follow. Then I carefully place each pearl along the outline, making sure they are evenly spaced and sit flat.
It takes patience and a steady hand, but the final look is delicate and charming. I love wearing this for date nights or any special moment because it feels thoughtful and feminine.
Even though it’s a small detail, it adds a unique, romantic touch to my manicure that always gets noticed.
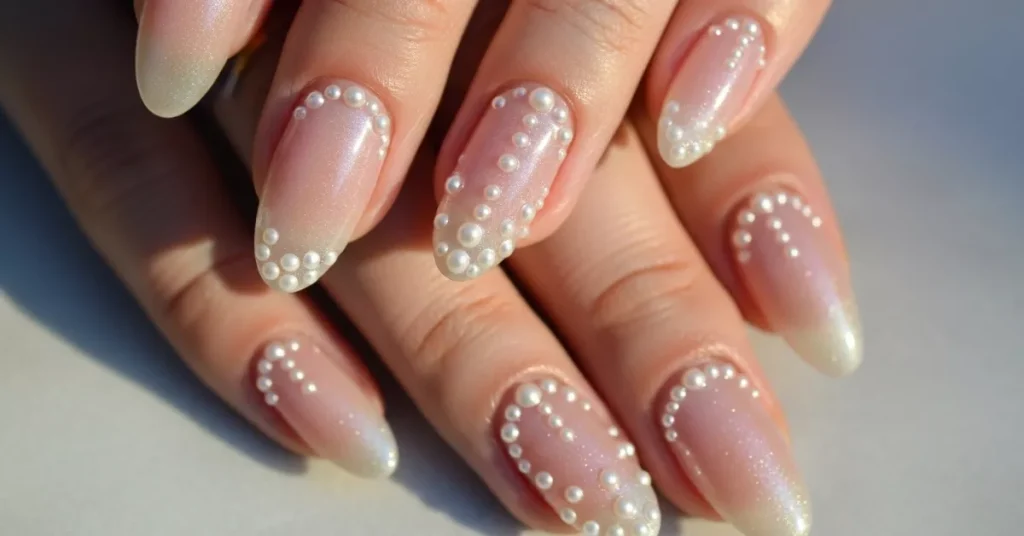
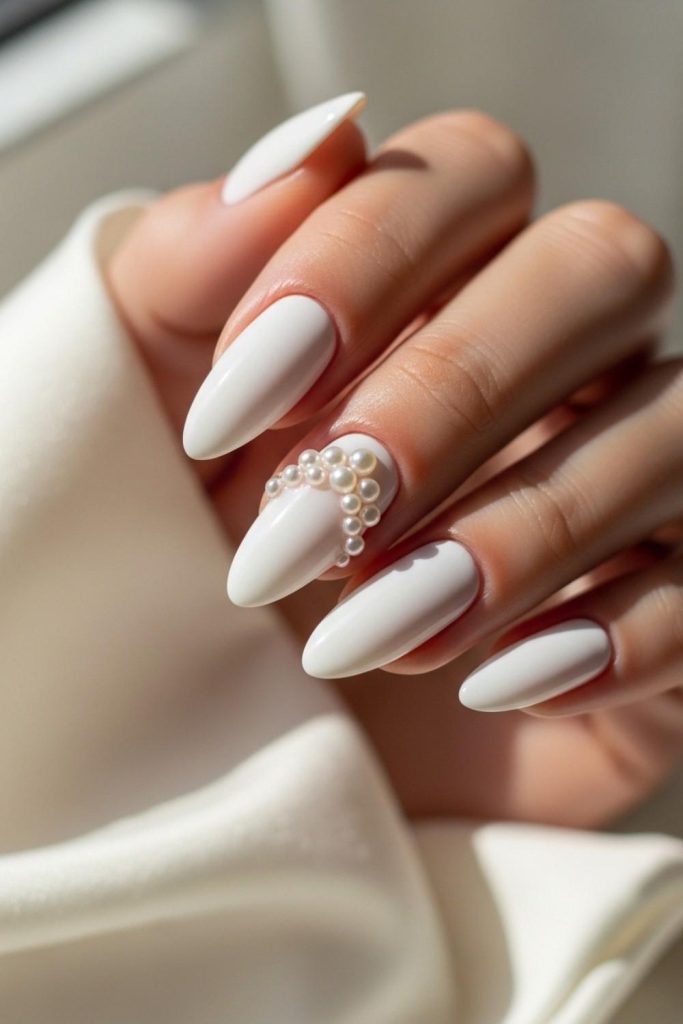
9. Full Pearl Accent Nail
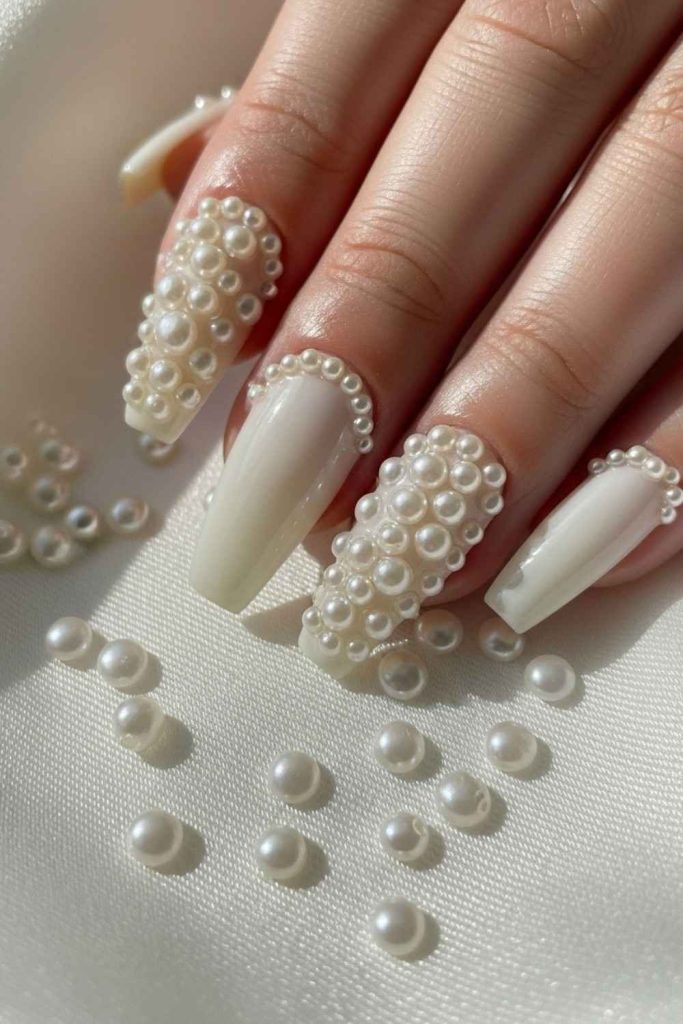
When I really want a dramatic look, I cover a single nail completely with tiny pearls. I keep the rest of my nails simple, usually glossy nude or soft pink, so the pearl nail stands out.
I apply a thick layer of nail glue and carefully place the pearls close together, pressing gently so they sit flat and secure. It takes a little patience, but the end result looks truly luxurious and eye-catching.
To save money and avoid overwhelming the design, I only do this on one finger. That single statement nail is bold, elegant, and perfect for weddings or special celebrations.
10. Diagonal Pearl Trail
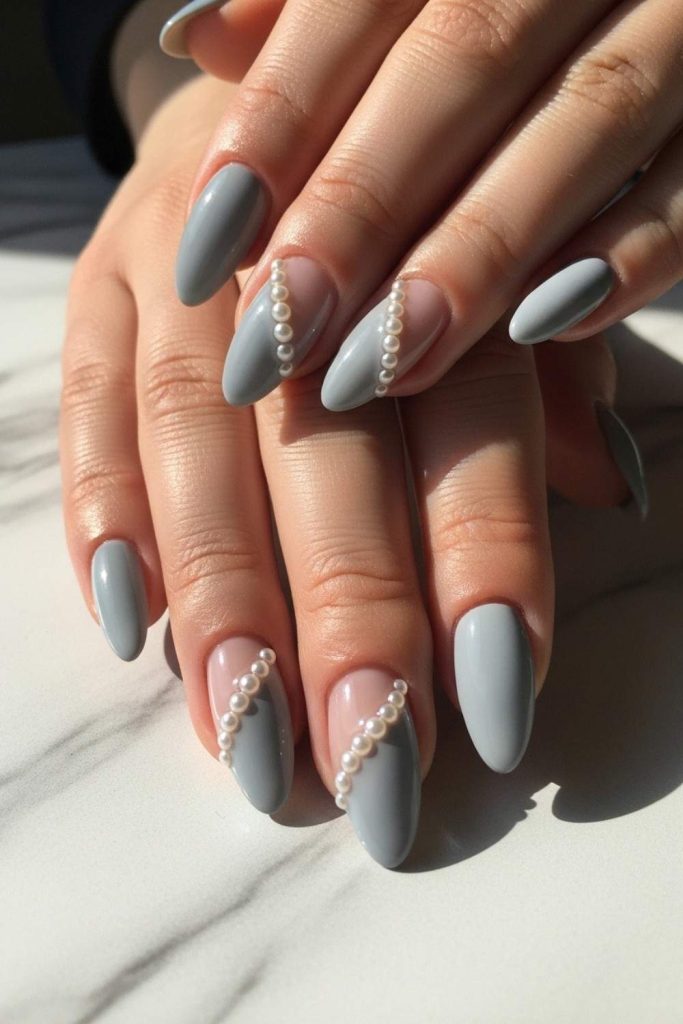
I like nail designs that feel modern, and the Diagonal Pearl Trail is one of my favorites. For this look, I place tiny pearls in a straight diagonal line across the nail.
I usually start from one corner near the cuticle and move carefully toward the opposite tip, making sure the pearls are evenly spaced for a clean finish.
Soft shades like grey, beige, or dusty rose work beautifully as a base because they make the pearls pop subtly. I love how this design feels creative without being overwhelming.
It’s perfect for casual outings or even more formal dinners, giving a chic yet understated vibe.
11. Clear Nails with Floating Pearls
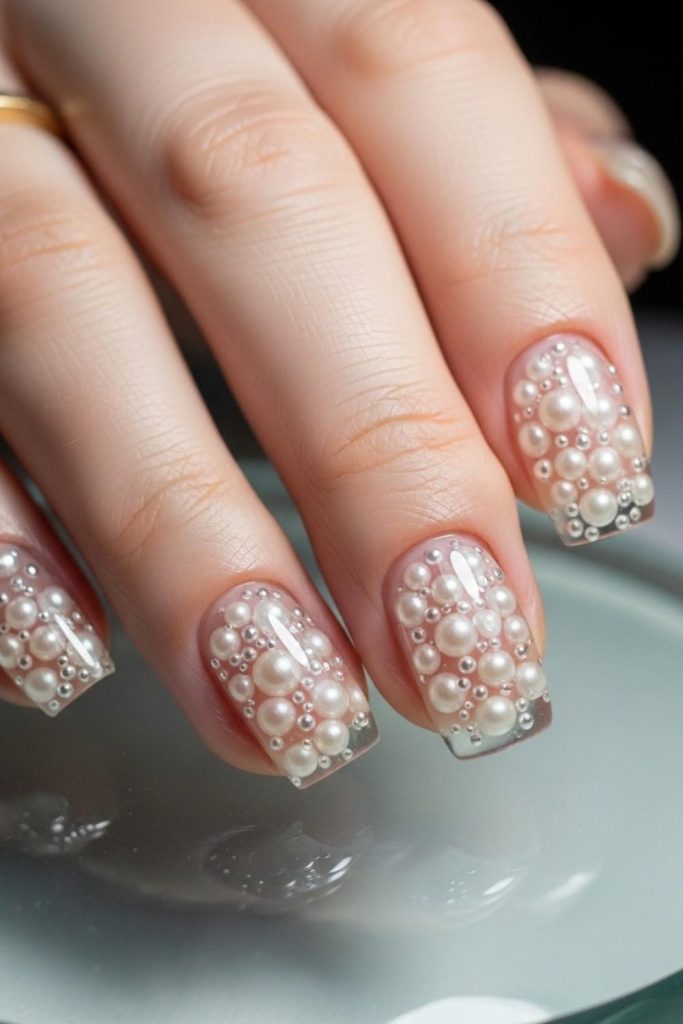
This design feels delicate and airy, and I absolutely love how soft it looks on my hands. I start with a clear or sheer pink base, which lets the nails look natural while giving the perfect backdrop for the pearls.
Next, I carefully place tiny pearls on the nail, spacing them just right so they don’t look crowded. After positioning,
I seal everything with a thick top coat, which makes the pearls appear slightly embedded and gives a polished finish. To save money, I use smaller pearls they look just as pretty and last for many manicures.
12. Pearl Half-Moon Design
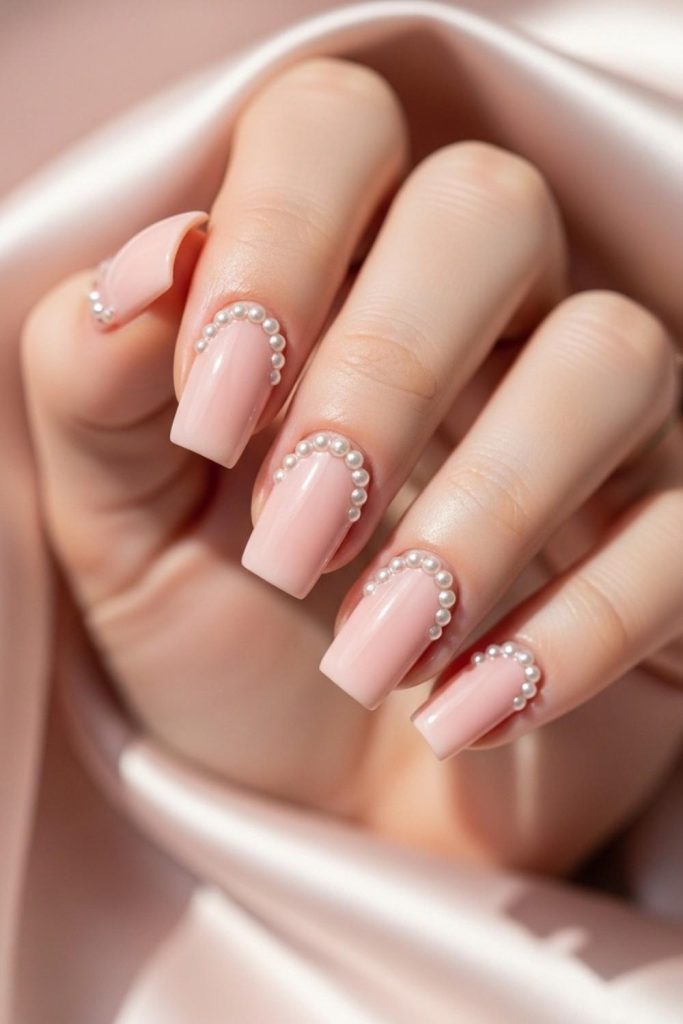
For the Pearl Half-Moon Design, I place tiny pearls in a gentle curved shape near the cuticle, following the natural contour of each nail. This arrangement creates a balanced, elegant look that feels clean and polished.
I usually choose soft blush or peach polish as the base because it makes the pearls stand out delicately without being too flashy.
I start by drawing a thin curved line with nail glue, then carefully position each pearl along the line, pressing lightly to secure them. This design is simple, classy, and perfect for occasions when I want my nails to feel polished but subtle.
13. Ombre with Pearl Tips
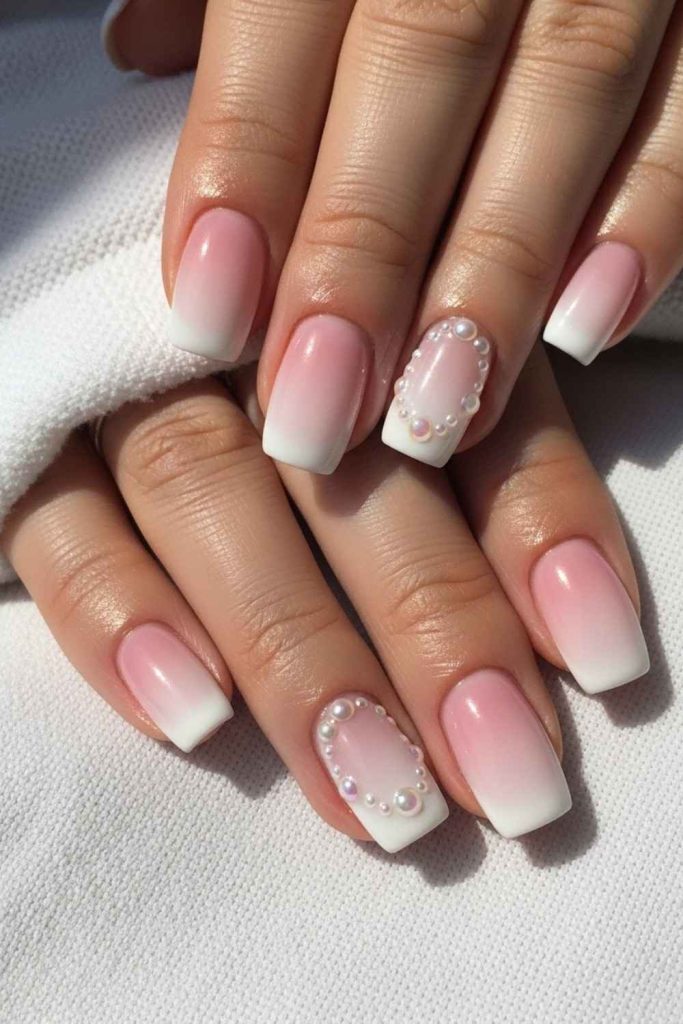
I love ombre nails they’re already soft and dreamy, but adding tiny pearls near the tip makes them even prettier. I usually start with a pink-to-white fade, created using a makeup sponge.
I dab the polish gently until it blends smoothly from one color to the next. Once the ombre is completely dry, I carefully place small pearls along the tip of each nail.
I keep the placement light and delicate because too many pearls can feel heavy and crowded. The result looks soft, feminine, and elegant.
I often wear this style to bridal showers, spring events, or any occasion where I want a subtle yet eye-catching manicure. It feels romantic but still wearable for everyday moments.
14. Side Pearl Edge

Instead of placing pearls in the center, I like to line them along just one side of the nail. I usually choose a matte nude polish as the base because it makes the pearls really pop.
I carefully apply a thin, straight line of nail glue near the edge, then gently press each pearl into place. Spacing them evenly is key so it looks neat but still delicate.
This design feels sleek and slightly bold at the same time. I love wearing it whenever I want something that stands out but stays elegant and simple.
15. Pearl Crown Detail
For this final idea, I create a tiny crown shape using very small pearls near the tip of one nail. I keep the rest of my nails plain white or nude so the crown really stands out. First,
I lightly outline the crown shape with a bit of nail glue to guide the placement. Then, I carefully position each pearl along the curve and the top points of the crown, making sure they sit neatly.
It feels delicate and princess-like, and I don’t need many pearls to make it look special. Every time I glance at my hands, it makes me smile.
Which Pearl Nail Design Matches Your Personality?
Your Perfect Pearl Nail Style Is:
Conclusion
Pearls can completely change a manicure without making it complicated. I love how small details create such a soft, classy finish.
Most of these designs only require basic polish, nail glue, and a small pack of pearls. I can mix ideas, try different colors, or keep it simple with just one accent nail.
The beauty of Nails With Pearls is that I can adjust them to fit my mood, budget, and occasion. If you’re thinking about trying pearl nails, start small and experiment. You might be surprised how easy and beautiful they turn out.